Chicken Dumplings

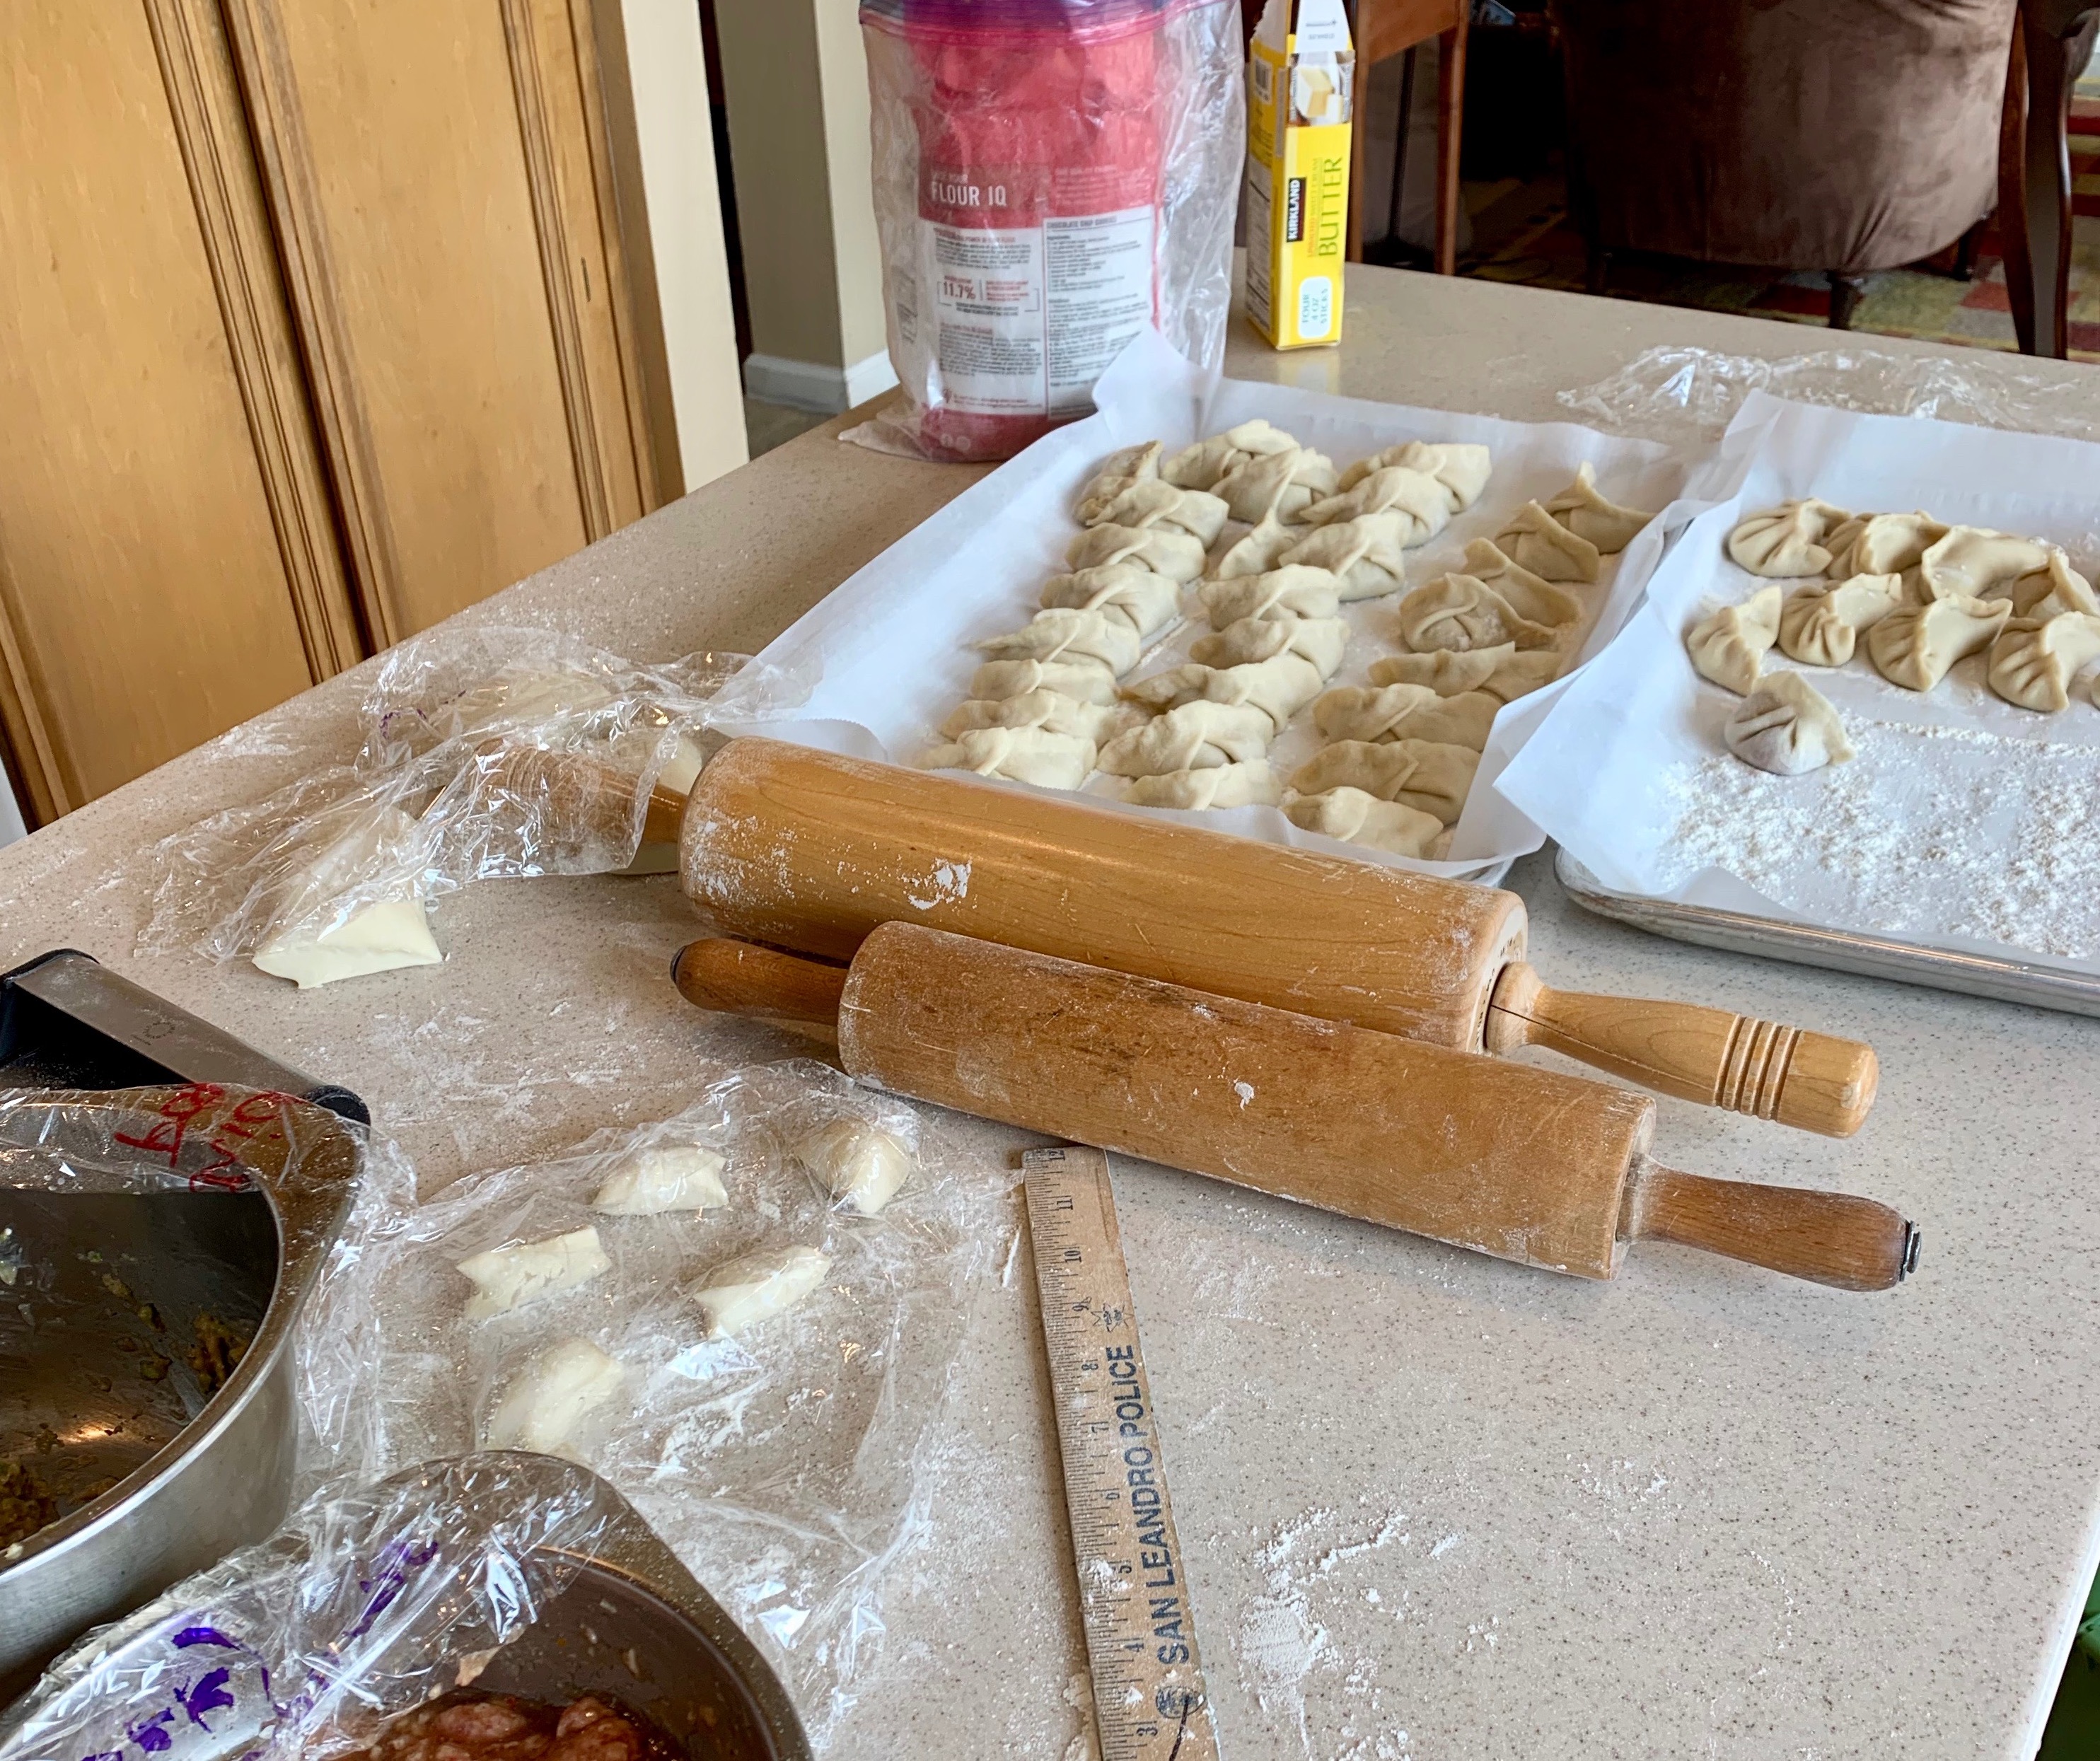
I ALWAYS have a few batches of these in the freezer. Homemade dumplings hit different! You can also easily substitute the chicken for pork, tofu or other veggies. 

Total Time
1 hour 40 minutes
100
Difficulty
Medium
Simple Tasty Recipes

Instructions

  1. FOR THE DOUGH: Place flour in food processor. With processor running, add boiling water. Continue to process until dough forms ball and clears sides of bowl, 30 to 45 seconds longer. Transfer dough to counter and knead until smooth, 2 to 3 minutes. Wrap dough in plastic wrap and let rest for 30 minutes.

  2. FOR THE FILLING: While dough rests, scrape any excess dough from now-empty processor bowl and blade. Pulse cabbage in processor until finely chopped, 8 to 10 pulses. Transfer cabbage to medium bowl and stir in 1/2 teaspoon salt; let sit for 10 minutes. Using your hands, squeeze excess moisture from cabbage. Transfer cabbage to small bowl and set aside.

  3. Pulse chicken, soy sauce, sesame oil, 1 tablespoon vegetable oil, rice wine, hoisin, ginger, pepper, and 1/2 teaspoon salt in now-empty food processor until blended and slightly sticky, about 10 pulses. Scatter cabbage over chicken mixture. Add scallions and pulse until vegetables are evenly distributed, about 8 pulses. Transfer chicken mixture to small bowl and, using rubber spatula, smooth surface. Cover with plastic and refrigerate.

  4. Line 2 rimmed baking sheets with parchment paper. Dust lightly with flour and set aside. Unwrap dough and transfer to counter. Roll dough into 12-inch cylinder and cut cylinder into 4 equal pieces. Set 3 pieces aside and cover with plastic. Roll remaining piece into 8-inch cylinder. Cut cylinder in half and cut each half into 5 equal pieces. Place dough pieces on 1 cut side on lightly floured counter and lightly dust with flour. Using palm of your hand, press each dough piece into 2-inch disk. Cover disks with damp towel.

  5. Roll 1 disk into 3 1/2-inch round (wrappers needn’t be perfectly round) and re-cover disk with damp towel. Repeat with remaining disks. (Do not overlap disks.)

  6. Using rubber spatula, mark filling with cross to divide into 4 equal portions. Transfer 1 portion to small bowl and refrigerate remaining filling. Working with 1 wrapper at a time (keep remaining wrappers covered), place scant 1 tablespoon filling in center of wrapper. Brush away any flour clinging to surface of wrapper. Lift side of wrapper closest to you and side farthest away and pinch together to form 1 1/2-inch-wide seam in center of dumpling. (When viewed from above, dumpling will have rectangular shape with rounded open ends.) Lift left corner farthest away from you and bring to center of seam. Pinch to seal. Pinch together remaining dough on left side to seal. Repeat pinching on right side. Gently press dumpling into crescent shape and transfer to prepared sheet. Repeat with remaining wrappers and filling in bowl. Repeat dumpling-making process with remaining 3 pieces dough and remaining 3 portions filling.

  7. A. TO PAN-FRY: Brush 12-inch nonstick skillet with 1 tablespoon vegetable oil. Evenly space 16 dumplings, flat sides down, around edge of skillet and place four in center. Cook over medium heat until bottoms begin to turn spotty brown, 3 to 4 minutes. Off heat, carefully add ½ cup water (water will sputter). Return skillet to heat and bring water to boil. Cover and reduce heat to medium-low. Cook for 6 minutes. Uncover, increase heat to medium-high, and cook until water has evaporated and bottoms of dumplings are crispy and browned, 1 to 3 minutes. Transfer dumplings to platter, crispy sides up. (To cook second batch of dumplings, let skillet cool for 10 minutes. Rinse skillet under cool water and wipe dry with paper towels. Repeat cooking process with 1 tablespoon vegetable oil and remaining dumplings.)

    B. TO BOIL: Bring 4 quarts water to boil in large Dutch oven over high heat. Add 20 dumplings, a few at a time, stirring gently to prevent them from sticking. Return to simmer, adjusting heat as necessary to maintain simmer. Cook dumplings for 7 minutes. Drain well.

  8. Serve dumplings hot, passing vinegar, chili oil, and extra soy sauce separately for dipping.


Ingredients for 40 potstickers

  • Dough
    ______
  • 2 ½ cups (12 1/2 ounces)
    all-purpose flour
  • 1 cup
    boiling water
  • Filling
    ______
  • 6 cups
    napa cabbage, cut into 1-inch pieces
  • salt (careful if the meat is already seasoned)
  • 16 ounces
    ground chicken (I used plastic packaged ground Italian chicken during the COVID-19 quarantine)
  • 2 tablespoons
    soy sauce, plus extra for dipping
  • 2 tablespoons
    toasted sesame oil
  • 1 tablespoon
    vegetable oil, plus 2 tablespoons for pan-frying (optional)
  • 1 tablespoon
    rice wine vinegar
  • 1 tablespoon
    hoisin sauce
  • 1 tablespoon
    grated fresh ginger
  • ¼ teaspoon
    ground pepper
  • 4
    scallions, chopped
  • Black or rice vinegar

Total Time

  • Preparation Time
    1 hour 30 minutes
  • Cooking Time
    10 minutes

Suggested Equipment

Notes

TO MAKE AHEAD: Freeze uncooked dumplings on rimmed baking sheet until solid. Transfer to zipper-lock bag and freeze for up to 1 month. To pan-fry, increase water to 2/3 cup and covered cooking time to 8 minutes. To boil, increase cooking time to 8 minutes.

TIPS & ALTERATIONS
I made these in March 2020 during the COVID-19 times. I live in Northern California and during our "shelter in place" order, I decided to take on the seemingly easy task of making potstickers. While these started off as pork dumplings I quickly came to realize that pork, chicken or any other ground meat would be difficult to find. After my fourth grocery store, I found plastic packaged Italian ground chicken and headed home. If you can not find ground chicken or any other ingredient, don't worry! This is a very versatile recipe and almost everything can be switched out or even omitted. Good luck, I know they will turn out great! 

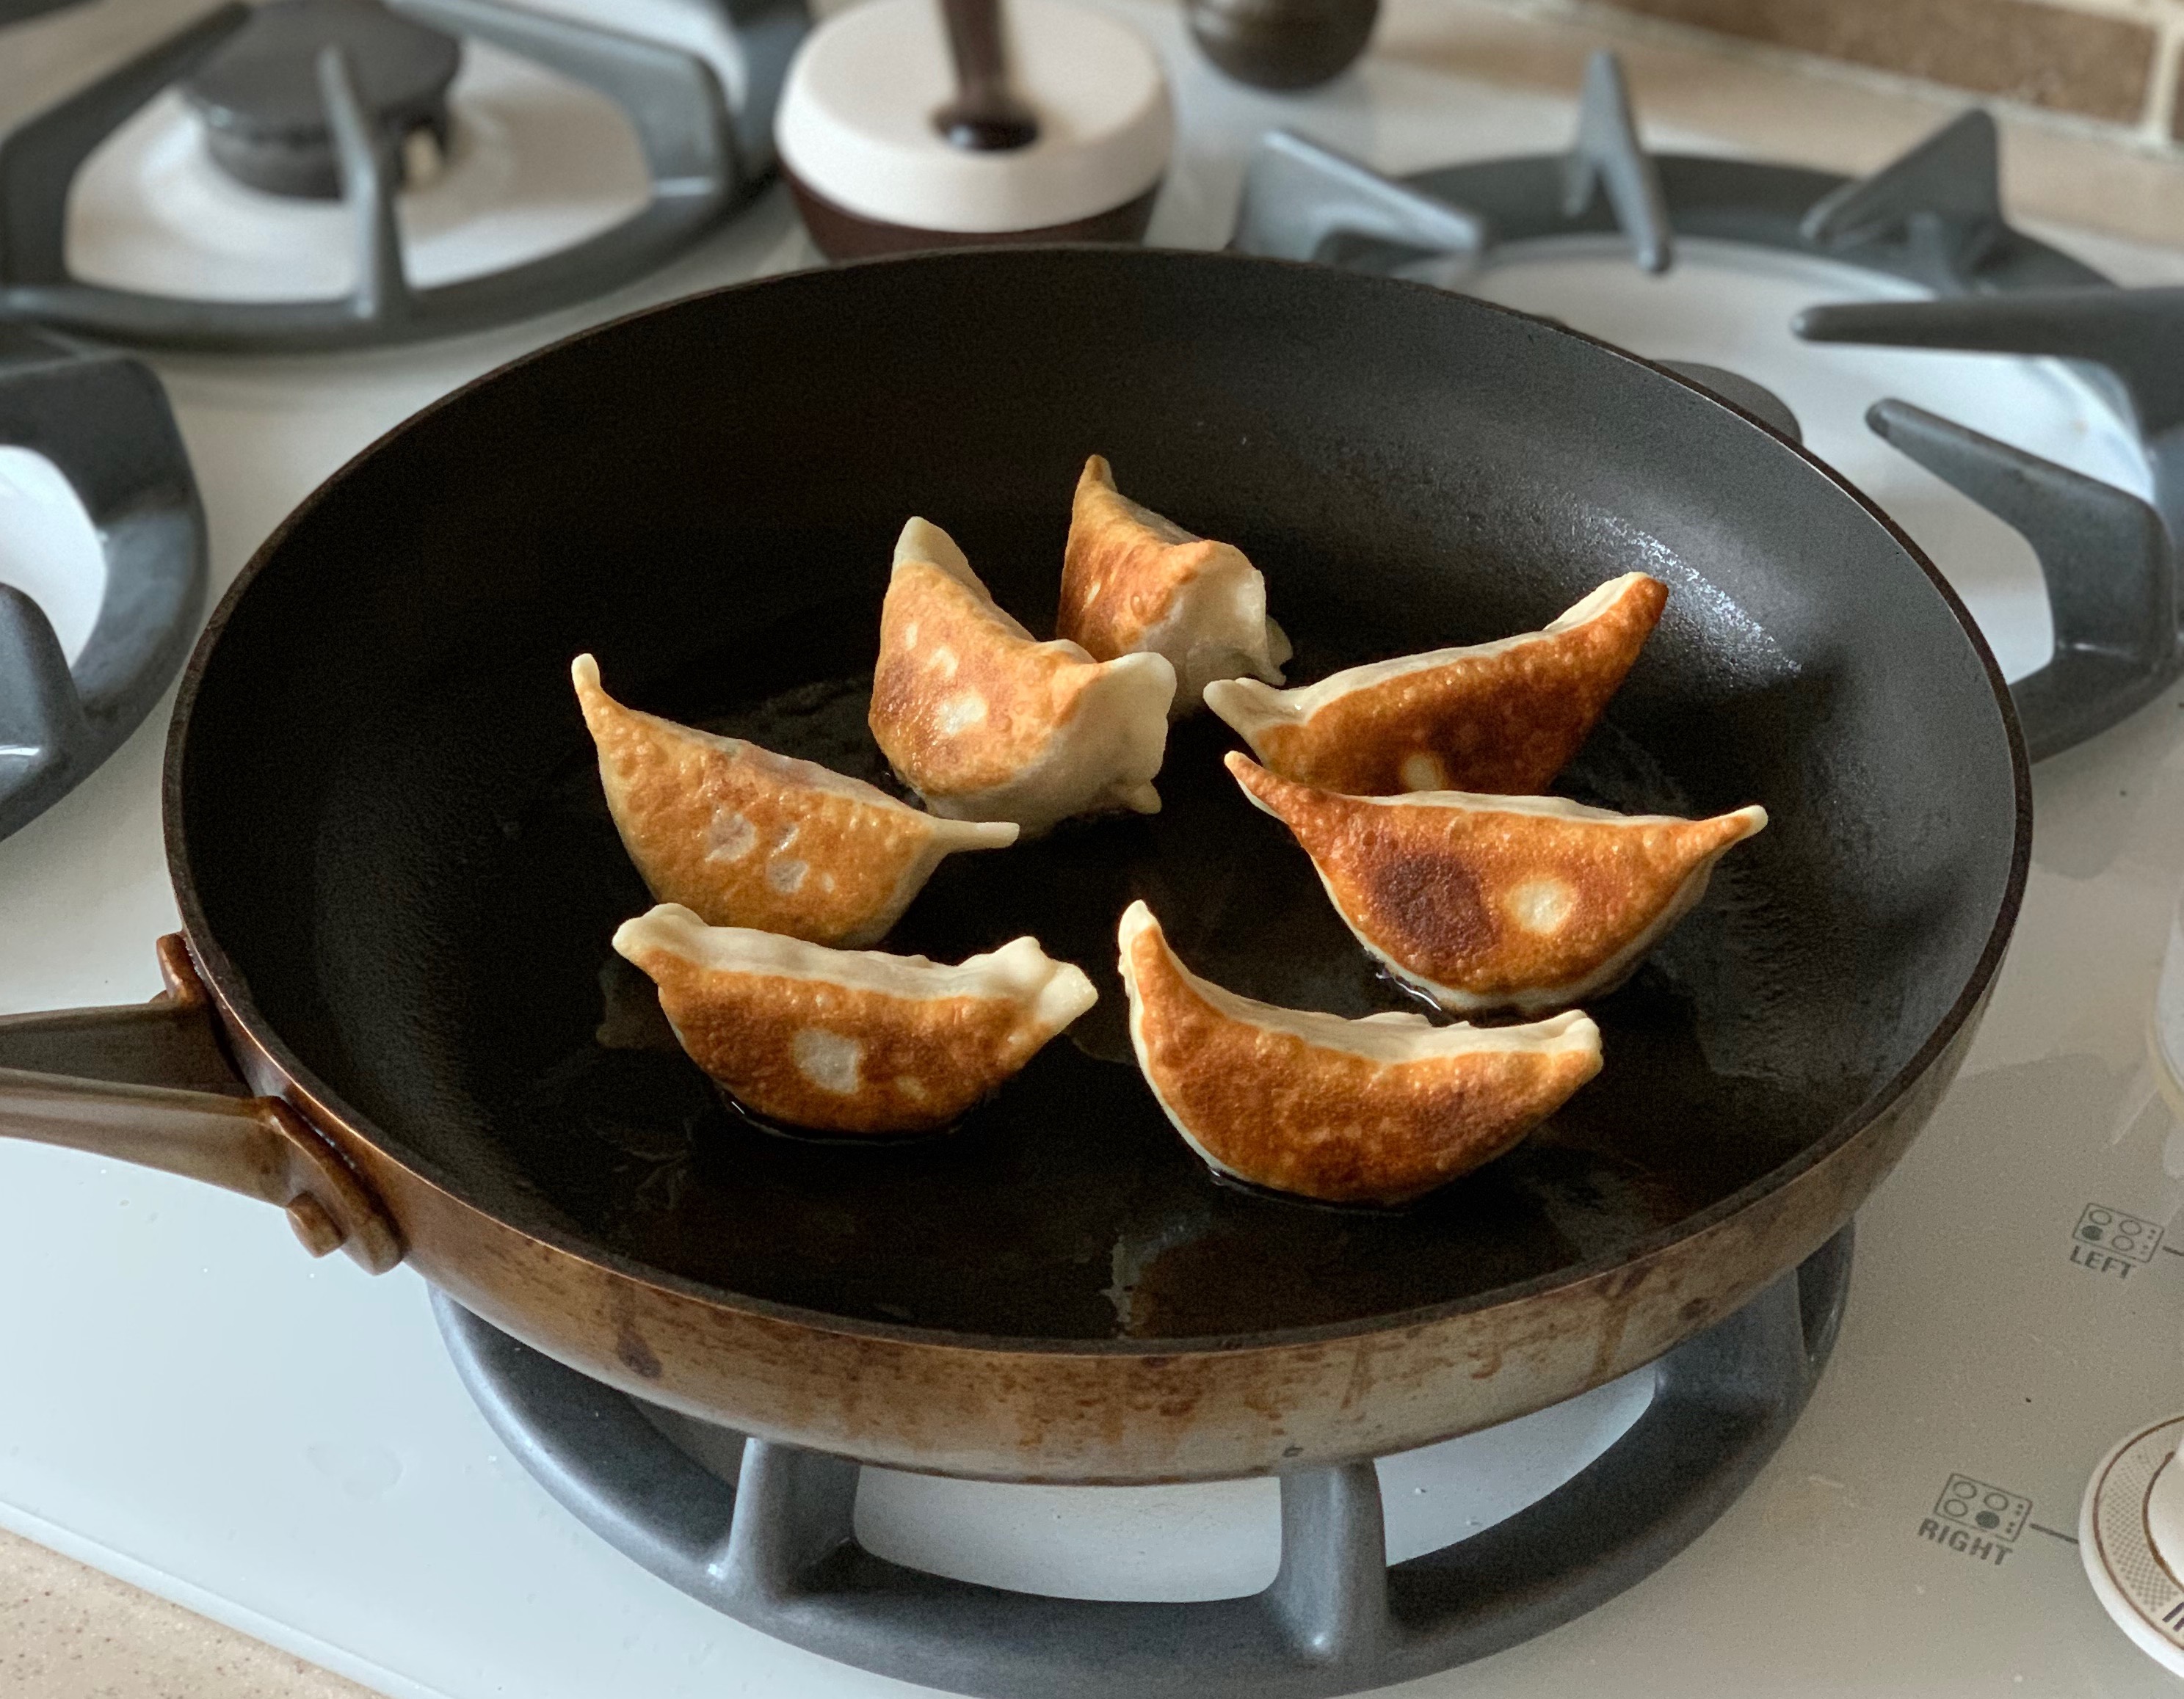
Do your potstickers stick to the pan when you pan fry them? Quick tip! Heat a drizzle of oil in the pan, place your dumplings down and leave them alone until the brown! Once they brown, they should release from the pan more easily.

Recipe from America's Test Kitchen.

Additional Images